

How to Create a Plan
The Plans feature in Degree Works helps students organize future coursework by creating a semester-by-semester academic plan. Plans can be built from a blank template or an MSU degree template and provide tracking tools to monitor progress toward graduation. Graduate Students submit a program of study in MyMSU and do not use the plans feature in any official capacity.
Creating or building a Plan in Degree Works
- Navigate to MyMSU
- Click on "Log in to MyMSU (NetID)" and login to the secure area using your NetID and password
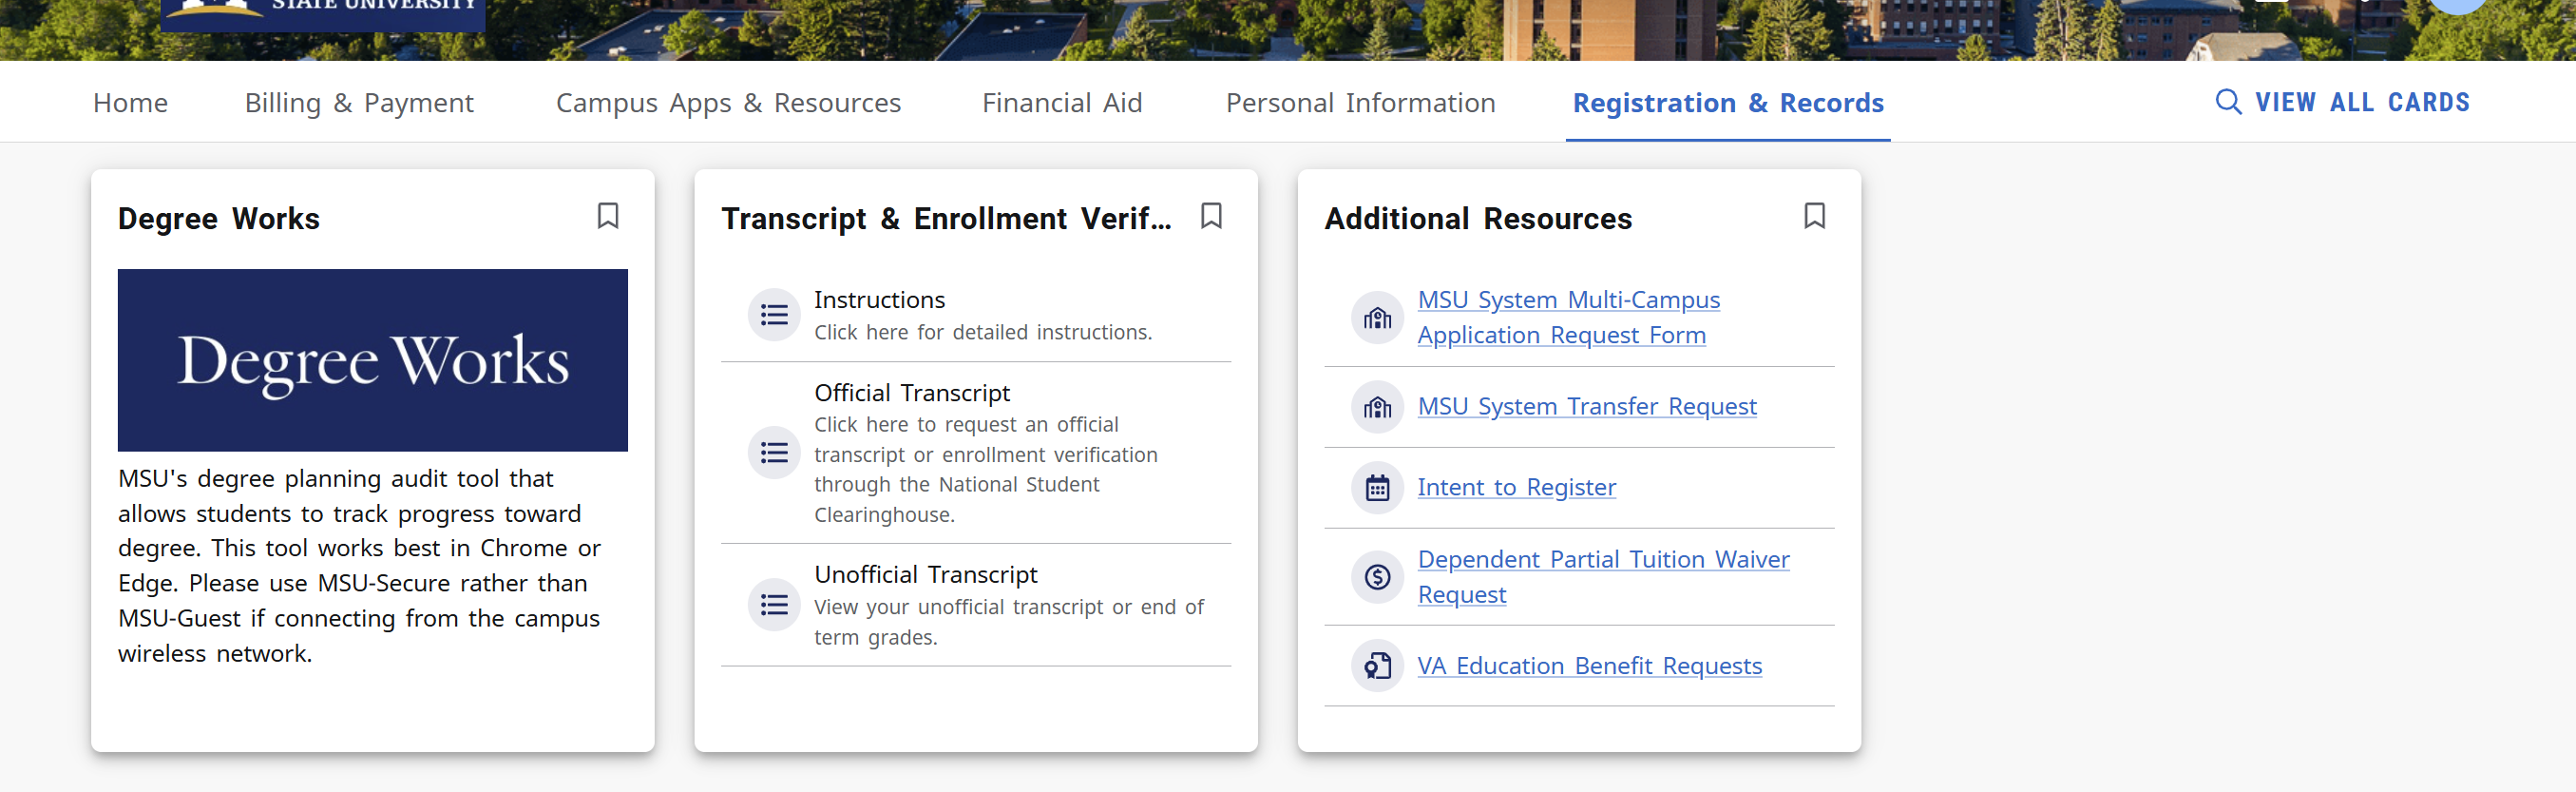
- Click on “Registration & Records”
- Click on “Degree Works”
- To begin using Plans, click on “Plans” located in the top left of the Degree Works
worksheet

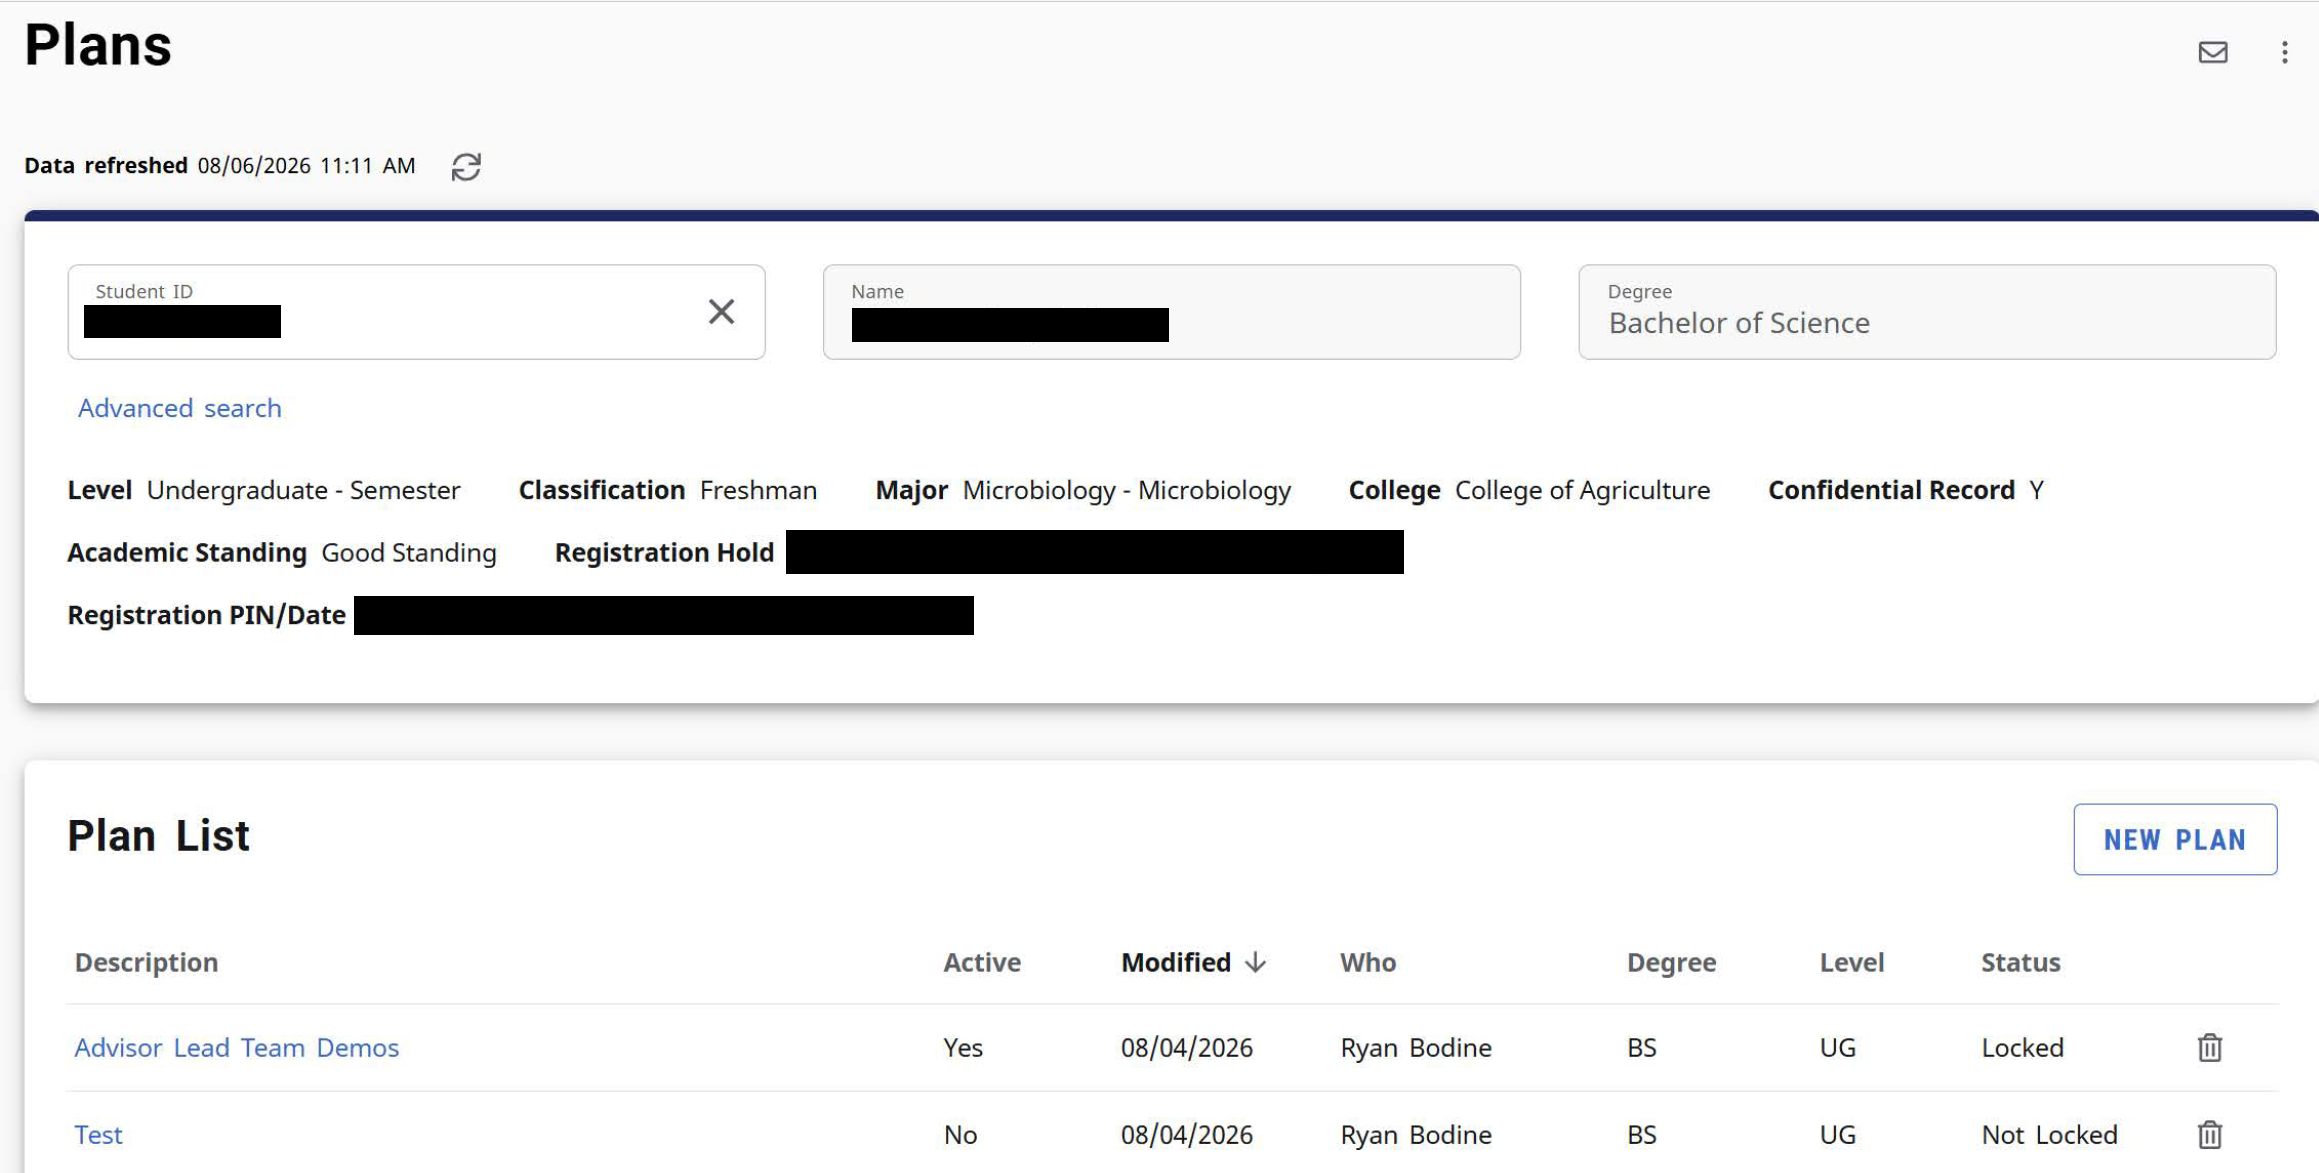
- In the Plan List block, you will see any plans that were previously created
- Create Plan from options listed below.
-
Review your plan.
Plan Types
There are two different options when creating a new plan, Blank Plans and Templates.
Blank Plans allow you to build a customized plan from scratch.
Templates allow you to select a pre-defined template with courses and semesters already added. Note: You can still edit a plan if selected from a Template. Templates are used when a major at MSU has been officially designated, and the student wishes to import the 4-year degree program for that major into their Plan.
- Select New Plan from the Plan List Block
- Select Blank Plan
- Use the drop-down menu to select the starting term for the plan. Select submit.
- Enter the name of the plan in the Description field.
- If you have multiple programs of study, you will see the Degree drop-down. Select the Degree you are creating the plan for.
- Click on the pencil icon button next to the Plan title to activate later.
- Select Save.
- The Blank Plan will appear. Scroll down to begin adding to the plan. You will see the starting term has been added.
Adding a Term
You can add other terms to the plan to continue mapping out your coursework.
- Select Add Term on the right side of the screen.
- Use the drop-down to select the term for the plan. Select add.
- The term will appear on the plan. Repeat the process to add more terms.
Adding a course that is still needed
The 3 options are: Courses (all courses available for that semester), Still Needed (courses still needed for the student's degree requirements), and Requirements (courses categorized under the major, minor, certificate requirements). Use the arrows next to the options to switch between these three.
- On the left side of the screen you will see the categories for the degree requirements that are still needed. Select the arrow next to the category to view the courses.
- Select the course and drag it to the + icon under the name of the appropriate term.
- You will see the course listed under the term. Select All to return to the full list of categories for the requirements that are still needed.
If you do not see an appropriate template for your major, please build a plan from scratch or contact your advisor.
- Select New Plan from the Plan List Block.
- Choose Select Template.
- The list of plans will appear. The “Term Scheme” column states the number of terms that have been planned and the term that the plan starts. Use the drop-down to select the starting term for the plan.
- Use the Search Templates field to narrow down the list or select the name of the template from the list. Note: The starting term must match the term start in the “Term Scheme” column. If they do not match you will receive an error.
- The plan template will appear. Select the pencil icon to edit the plan’s description.
- If needed, modify the name of the plan in the Description field.
- If you have multiple programs of study, you will see the Degree drop-down. Select the Degree you are creating the plan for.
- Select Active if you would like enable tracking.
- Select Save.